
If you could deploy your application in production as soon as possible and in the shortest amount of time possible, following your CI/CD pipelines, and have everything standardized across all of your environments, wouldn’t that be fantastic?
Well for this, docker containers can be your most reliable companion for the following reason:
- The docker image you are executing in development should be identical to the one in production.
- It takes less than 10 seconds to spin up a container once the image is accessible.
- You can control how much CPU and memory will be used.
- Your apps are completely isolated from one another thanks to Docker.
Please note, this article is an introduction to the fundamentals of ECS to understand the underlying technology and how to get the most out of it. In a production environment, I would utilize cloud formation to build all the resources and orchestrate the deployment.
What the heck is ECS?
It’s Amazon’s answer to the container orchestration question!!
Amazon Elastic Container Service (Amazon ECS) is a highly scalable, high-performance container orchestration service that supports Docker containers and allows you to easily run and scale containerized applications on AWS. Amazon ECS eliminates the need for you to install and operate your own container orchestration software, manage and scale a cluster of virtual machines, or schedule containers on those virtual machines.
High-Overview Architecture
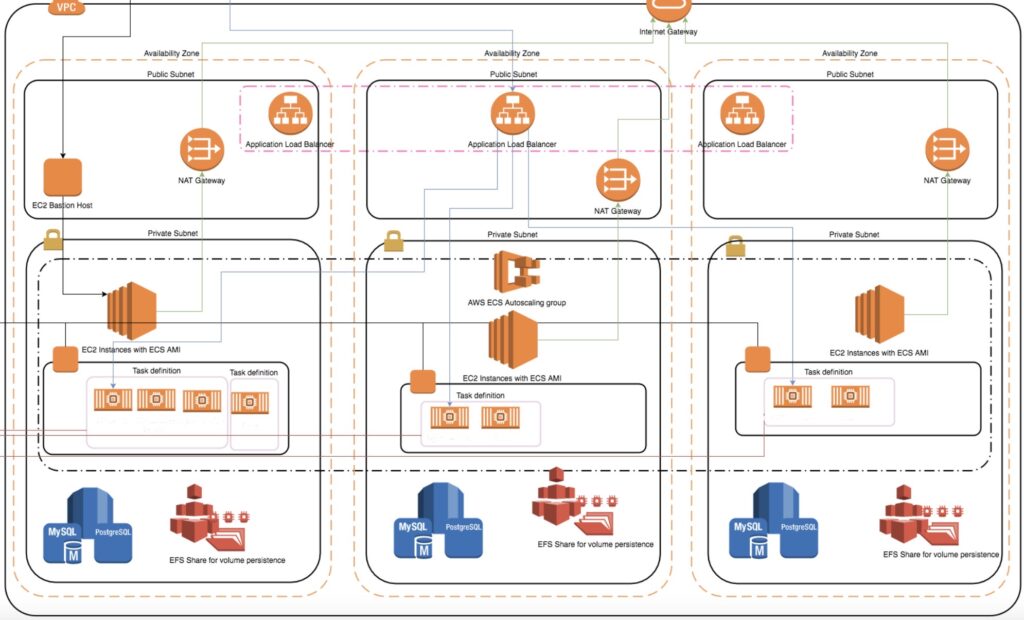
We will just be concentrating on the ECS component in this tutorial. There is a Public, Private/Application, and Database Subnet in this fairly typical VPC architecture, though. As you can see, the Private and Database subnet is protected, thus nobody can access it directly from the outside if they are not going through the application load balancer.
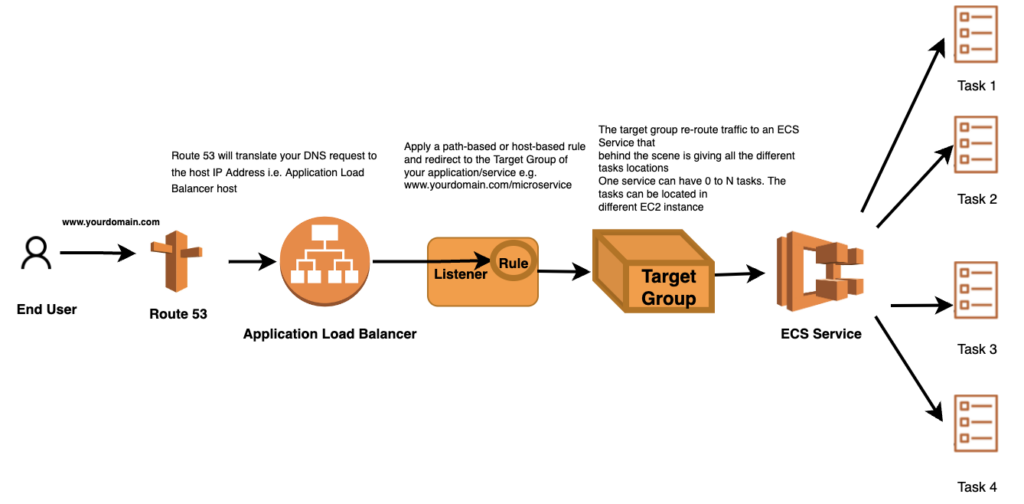
Application Load Balancer
Your application’s entry point is the ALB! If you happened to type (www.kdc.se), your DNS would convert the request to the Application Load Balancer’s IP address. The Application Load Balancer will now need to examine the various rules and re-route the request to a particular target audience. Traffic is redirected to a specific service and, in the background, to all the many tasks and containers that the service is operating across your ECS cluster using a target group.
ECS Cluster
In this illustration, we’re using a traditional EC2 Instance Cluster. However, if you are interested in serverless, I suggest choosing the Fargate option.
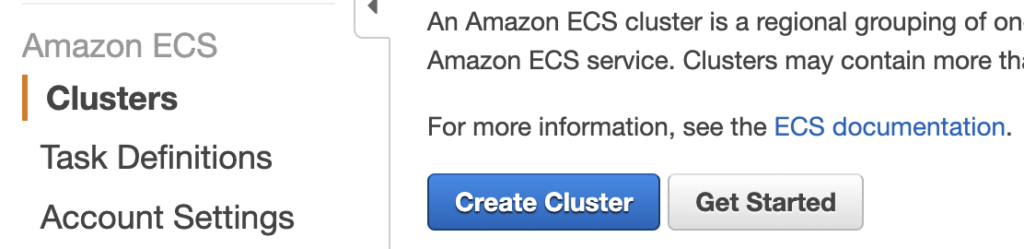
An Amazon ECS cluster is a regional grouping of one or more container instances on which you can run task requests. Each account receives a default cluster the first time you use the Amazon ECS service. Clusters may contain more than one Amazon EC2 instance type.
Jump to your “Amazon ECS” page and select Create Cluster to start a cluster.
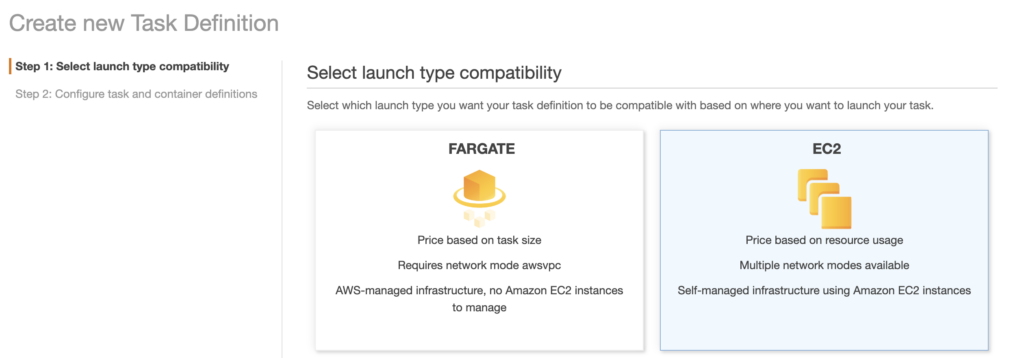
You will then be prompted to select a template: a Standard Template (Linux/Windows) or a Fargate template. Following your selection of the template, you must select:
- Cluster Name
- Provisioning Model, Number of Instances, EC2 Image to be used, EBS Storage Size, Keypair
- Network Configuration, Security Group (never use the public subnet!)
- Container Instance IAM Role
- CloudWatch Container Insights
ECS Service
An ECS Service is responsible for launching, monitoring, and recovering task (s)/Container(s) started in the ECS Cluster. You can define how many tasks you want to run and how to place them in the cluster (using task placement strategies and constraints to customize task placement decisions).
You must supply a task definition, which is analogous to a docker-compose.yml file in the docker world, in order to let the ECS Service manage your jobs.
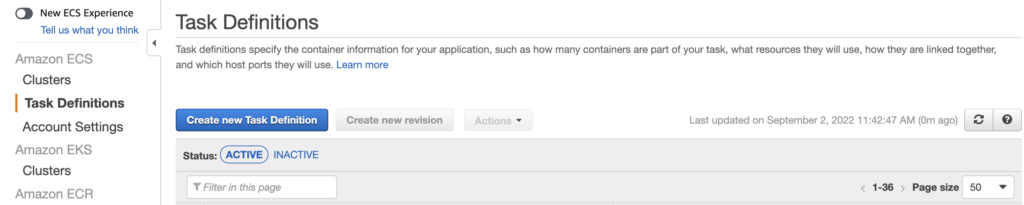
ECS Service — Task Definition
The Task Definition is a requirement to run Docker container(s)/task(s) in AWS ECS as it defines:
- The image to use (generally hosted in AWS ECR/DOCKER HUB or your preferred Registry)
- Memory and CPU limits
- The launch type
- The logging configuration
- And much more
To create a task definition, go to your ECS console and create a new one, this will be needed whenever we will start up a Service:
ECS Service — Service Creation
Go to your ECS Console, choose your cluster, and then click “Create a New Service.”
Choose the task definition you’ve prepared from there and follow the instructions to finish the work.

Congratulations! Your Docker container is now active, with a service handling the health check and a cluster ready to host more of your projects behind it.
Some additional key features?
Auto-heal container: You can define a path to check the status of your application using the target group.
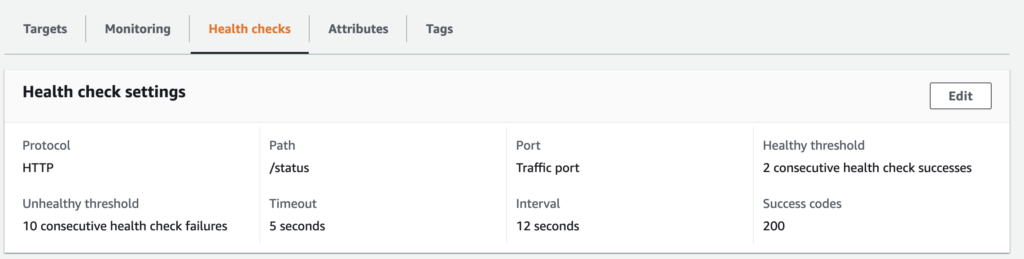
The health check in this illustration pings the homepage every 12 seconds to ensure that it is providing a status code of 200. If the health-check fails, on the other hand, your container will be instantly redeployed!
Task Scheduling: Task scheduling allows you to start tasks based on a time interval ( e.g.cronjob), from a queue job, or start manually!
Task Placement: A task placement strategy is an algorithm for selecting instances for task placement or tasks for termination. For example, Amazon ECS can select instances at random, or it can select instances such that tasks are distributed evenly across a group of instances. Even if one of your ec2 instances stops or gets restarted by mistake, your service will continue to stay up and running.
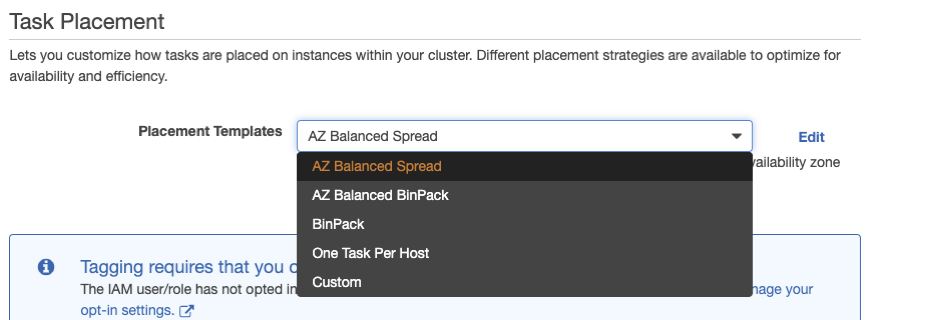
- AZ Balanced Spread: Availability Zone across EC2 instance (try to place each of the container in an EC2 instance that reside in a different az).
- AZ Balanced BinPack: Availability Zone across EC2 instances choosing the one with the least available memory
- BinPack: EC2 instance selecting the one with the least available memory
- One Task Per Host: As it says
- Custom: This is the best feature; you can specify custom rules like the kind of instance, you need to run the task, the AMI-id, the region, etc.
Conclusion
Now that your cluster has been configured and your first service is using it, you just need to point a Route53 entry to the target group and start playing around with your new docker cluster!
Since this is a basic manual, many steps are not represented; nonetheless, if you have any questions, please feel free to write me on Linkedin.

Author: Akash Kumar
DevOps specialist who loves cricket and spicy food with a beer a two, preferrably in combination.